Canned Dill Pickle Recipe

Homemade Dill Pickles...There's nothing like them.

Let’s make some homemade dill pickles together.

This is the first bumper crop of cucumbers I have ever grown. Every day, I swear there were 5 more cucumbers ready to harvest. We were eating them fresh, giving them away to family and friends, and I still had a ton left over to make pickles. In previous years, I’ve made refrigerator pickles (which requires no canning) because I didn’t have many cucumbers. Well, this year folks is the year I am able to put away many jars of pickles and it feels so good. What a blessing!

This is a fairly simple pickling recipe that you can use year after year to preserve your cucumbers. Any type of cucumber will work!

Some people prefer to use smaller cucumbers in their pickling recipes, however it is sometimes hard to harvest them when they are that small. They grow so very fast in the heat of the summer. So use what you’ve got and let nothing go to waste!

If you like crunchy pickles, soak the cucumbers in an ice water bath for 3 hours minimum prior to pickling. This should preserve the crunchiness. Otherwise, you can skip this part.

Step 1: Gather Ingredients

You will need mason jars, cucumbers, salt, white vinegar (at least 5%), sugar, dill, garlic cloves, red pepper flakes, whole peppercorns, and mustard seed.

Step 2: Prep Jars

Prep your canning jars by washing in hot, soapy water then boiling them in a pot of water for 10 minutes and simmer until ready to use.

Step 3: Wash and Cut Cucumbers

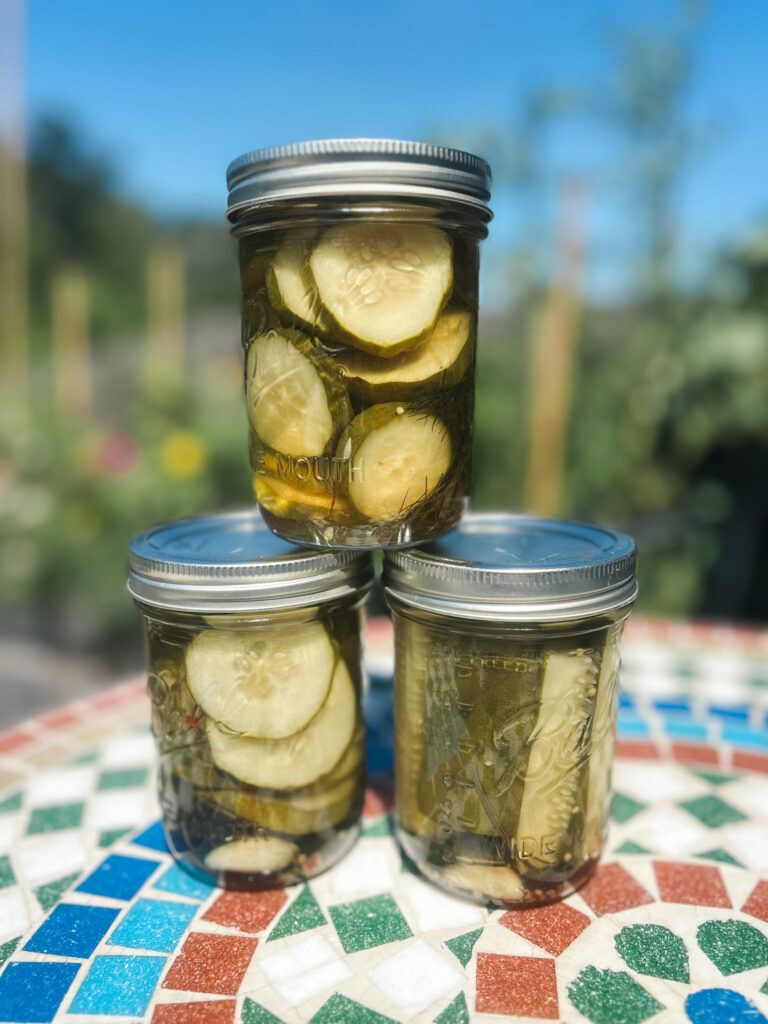
Wash and dry the cucumbers. If you are pickling whole small cucumbers leave them as is – otherwise, cut off the ends and cut into spears or rounds (whichever you prefer). I did a mixture of both. If cutting into spears, make sure they are not too tall for the jars you are using. You will need at least a 1/4″ of headspace.

Step 4: Make the Brine

In a large pot, combine vinegar, sugar, water, and salt.

Bring to a boil and stir until dissolved. Set aside.

Step 5: Add Spices and Cucumbers to Jars

Add garlic, mustard seeds, peppercorns, red chili flakes, dill, and cucumbers to each jar. Make sure to pack the jar full and tight with cucumbers (leaving 1/4″ headspace).

Step 6: Fill Jars

Pour brine over cucumbers in each jar, leaving 1/4″ headspace. Once full, take a knife or chopstick and poke around down into the bottoms of each jar to make sure to release any air bubbles. Top off with brine if needed. Screw lids onto jars until it’s finger-tight. Meaning not too tight but just enough screwed on by hand so that it’s closed.

Step 7: Water Bath Canner

Now it’s time to preserve! I recommend going to Ball’s website for official canning instructions. I used a large stock pot with a metal wire rack at the bottom. I filled the the water so that it completely covered the jars by at least an inch. Processed in boiling water for 10 minutes.

If you do not want to can your pickles, you can skip this step and place straight into the fridge. They should be good for up to month. I’ve eaten mine even a year later in the fridge….(probably aren’t supposed to but tasted fine to me).

Homemade Dill Pickles

Homemade canned dill pickles recipe
Course Appetizer, preserving
Cuisine American
Servings 6 pints

Equipment

  • 6 pint jars with lids
  • 1 large stock pot

Ingredients
  

  • 4 lbs cucumbers
  • 4 cups water
  • 3 cups white vinegar 5%
  • 1/4 cup salt
  • 2 tbsp sugar
  • 1 bunch dill fresh or frozen
  • 12 garlic cloves
  • 12 tsp mustard seeds
  • 3 tsp red chili flakes
  • 3 tsp black peppercorns

Instructions
 

  • In a pot, boil vinegar, water, sugar, and salt until dissolved. Then turn off the heat and set to the side.
  • Meanwhile, wash and dry cucumbers. Cut into desired shapes: spears or chips. Make sure if they are cut into spears, that they are short enough to fit into the jars you are using to pickle.
  • Add 2 garlic cloves, 1/4 tsp red chili, flakes, 1/4 tsp black peppercorn, 1 tsp mustard seeds, and pinch of dill to each jar. Top with cucumber leaving 1/4" headspace. Make sure to pack the cucumbers in real tight.
  • Pour brine into each jar leaving 1/4" headspace. Using a butter knife or chopstick, go around the inside of your jar sticking all the way to the bottom (this will release any air bubbles to the top). You may be able to add some more brine after doing this but make sure to leave 1/4" headspace.
  • Place lids on jars and twist until finger tight. If you plan on eating the pickles soon, they are ready to go into the fridge. If you want to store the pickles in your pantry, let's move on to water bath canning.
  • Please refer to the Ball website for official canning instructions. I used a large stock pot as a water bath canner for 10 minutes.
Keyword canning, dillpickles, pickles, preserving

Happy Pickling!

Subscribe to our Newsletter!

Sign up to our weekly newsletter to receive Bayou Harvest blog posts directly in your inbox.